SCUF gaming article
Best Controller Settings for Marathon
Getting your controller settings right in Marathon matters more than you might expect. Small changes to sensitivity, dead zones, and aim assist can decide whether fights feel controlled or frustrating — and on console, where input needs to stay consistent under pressure, the right setup makes all the difference. Here's a breakdown of the optimal Marathon controller settings to help you get the most out of every run.
Core Controller Settings
These baseline values help you maintain fluid aim and smooth turning across every situation:
- Look Sensitivity: 7 – A balanced pace for turning and tracking targets
- ADS Sensitivity Modifier: 1.0 – Keeps sensitivity consistent when aiming down sights
- Vertical Inversion: Off – Standard look orientation unless you prefer otherwise
- Horizontal Inversion: Off – Traditional left-to-right look
- Autolook Centering: Off – Keeps camera control in your hands
- Controller Vibration: Off – Reduces distractions, helps focus on aim, and saves battery
- Double Press Delay: 1 – Better recognition of quick taps for fast, responsive inputs
- Swap Bumpers and Triggers: Off – Default layout unless you prefer to customize
These settings aim for a direct, clean feel with minimal interference — whether you're in the middle of a firefight or looting between runs. They work well for new players and veterans alike.
Why These Settings Help
Tweaking values like Look Sensitivity and Inversion affects your aim directly. Sensitivity at 7 gives you a medium pace that suits both precise aim and quick turning. Keeping the ADS Modifier at 1.0 avoids any sudden jumps in speed when you go from sprinting into a fight. Autolook Centering off means you stay in full control of the camera rather than letting the game decide for you.
Vibration off is a common choice among competitive players — small recoil vibrations can subtly affect stick control in ways you don't always notice until they're gone. Double-press delay and bumper settings keep button inputs responsive and predictable throughout.
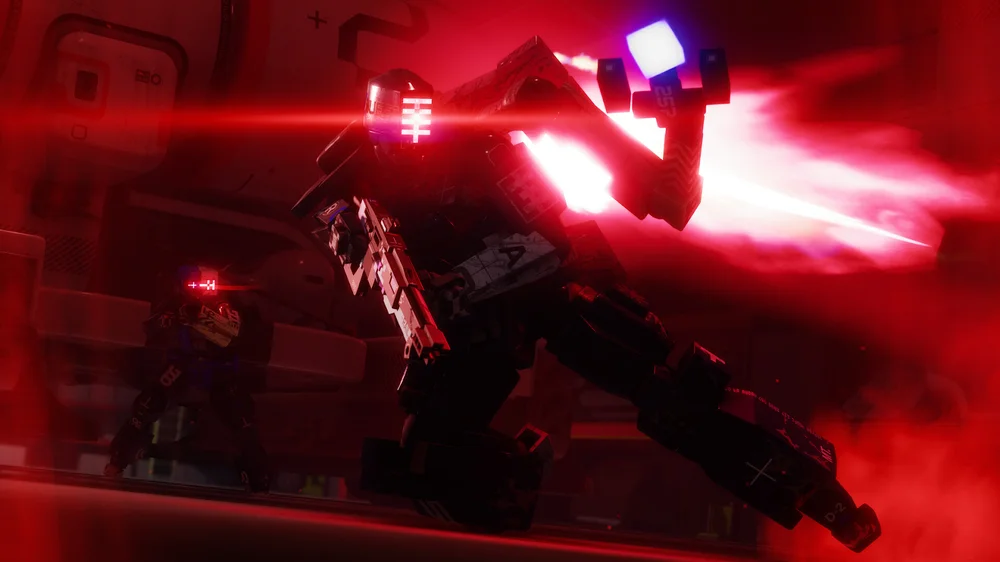
Handling Marathon Aim Assist
Aim assist has been a hot topic in the Marathon community. During the game's alpha, Bungie's gameplay director Andrew Witts introduced an aim-assist-like feature for mouse-and-keyboard users — an unusual move designed to keep parity with controller players. The response from the community was swift: Reddit users and Twitch streamers pushed back hard, describing the feature as feeling too heavy and making PC gameplay worse. Bungie pulled it back based on that feedback.
It's a good reminder of just how sensitive aim assist is when it comes to cross-platform fairness. For controller players, aim support functions as standard — but sensitivity and stick curve still need to match your personal style. Use aim assist as a foundation, not a substitute for dialing in your settings.
Marathon Controller Sensitivity
Sensitivity determines how much your aim moves relative to stick input. Too high, and minor movements will swing your view all over the place. Too low, and reacting quickly becomes a struggle. The recommended value of 7 lands in a mid-range sweet spot that balances control and speed for most playstyles.
If something still feels off, adjust one step at a time and test in low-pressure matches before taking changes into a real run. Many players start at the baseline and work down if they find themselves overshooting targets. It's worth putting in the time to dial this in before heading into ranked play.
Controller Deadzones and Response Curves
Lower deadzones reduce the stick movement required before the game registers an input, making aiming feel more immediate and direct. That said, going too low can introduce drift if your sticks have any hardware wear — so adjust carefully and test each change before committing.
Players during Marathon's early alpha were already requesting more advanced controller curve options, and it's likely Bungie will expand these controls as the game develops. For now, treat deadzone adjustments as small, incremental tweaks and confirm each one is actually improving your aim before moving on.

Tips and Tricks
- Keep Look Sensitivity between 4 and 7 for a range that covers both snappy aim and controlled tracking
- Keep Autolook Centering off so the game isn't moving your Runner without your input
- Vibration can add to immersion, but the distraction it creates isn't worth it in competitive play — keep it off
Why SCUF Controllers Work Well for Marathon
Marathon rewards fast reactions and fluid movement, which is exactly what SCUF controllers are built for. The back paddles let you jump and slide while keeping your thumbs on the sticks — a real advantage during close-range fights and quick extractions where stick control can't slip for even a second.
Adjustable triggers reduce pull distance so your shots register faster in high-intensity moments. When paired with dialed-in sensitivity settings, a SCUF setup helps reduce hand strain and keeps your performance consistent across long sessions. It won't replace skill, but it removes the small physical limitations that can get in the way when the pressure is on.
Whether you're playing on PS5, Xbox, or PC with a controller, taking the time to dial in your Look Sensitivity, ADS behavior, and other core settings will give you a cleaner, more responsive feel that holds up across both aggressive fights and cautious extraction runs. Lock these in first, and you can put your full focus on timing, positioning, and working with your squad — instead of fighting your controller.